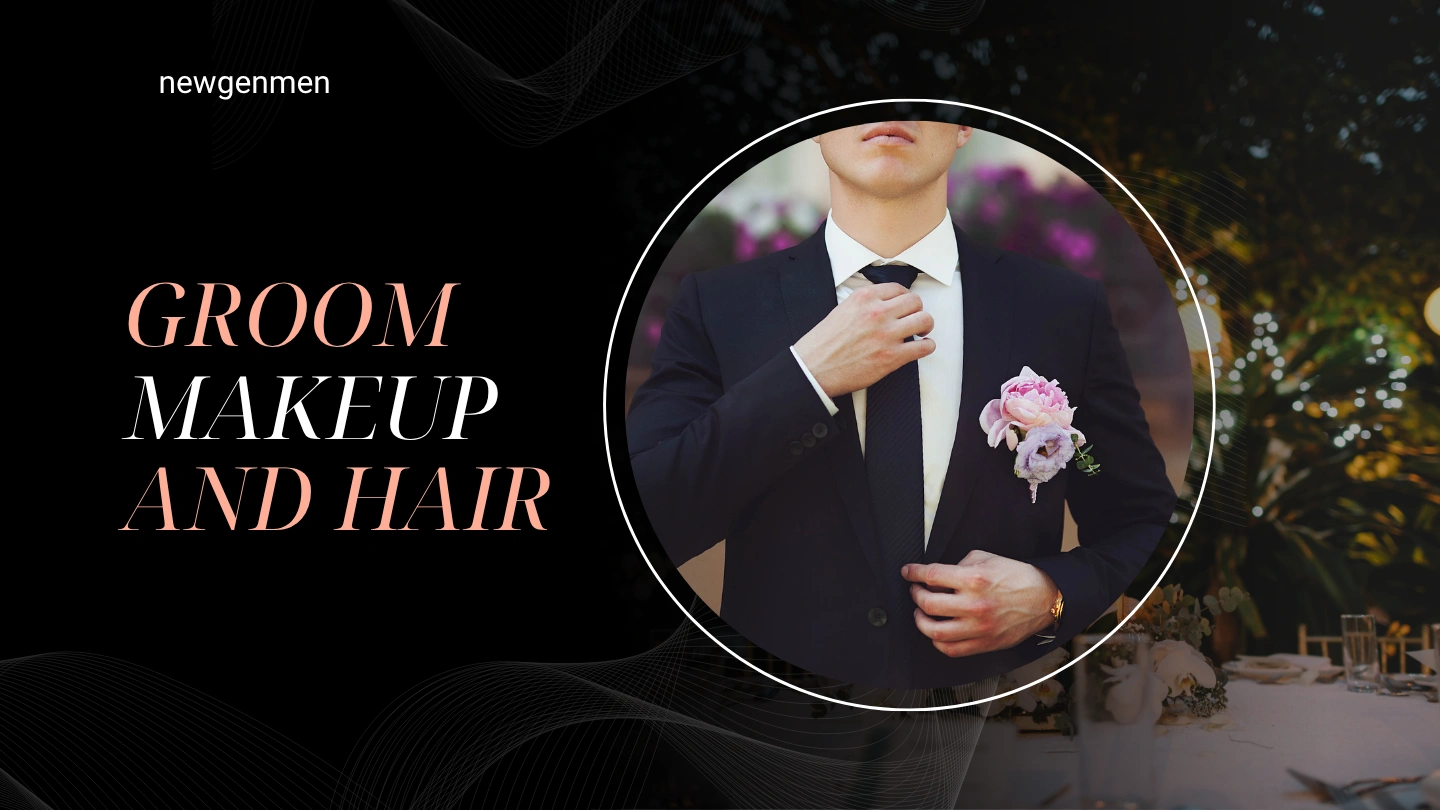
Step-by-step Guide to Groom Makeup and Hair for your wedding day.
If you’re navigating the final countdown to the biggest “I do” of your life, you’ve probably spent months dialing in the suit, the venue, and the playlist. For too long, the idea of groom grooming has been an afterthought, maybe a quick haircut and a clean shave. The modern groom knows better. You want to look back and see the absolute best version of yourself: sharp, confident, and 100% natural, not overly ‘done.’
Step-by-Step Groom Makeup and Hair Guide
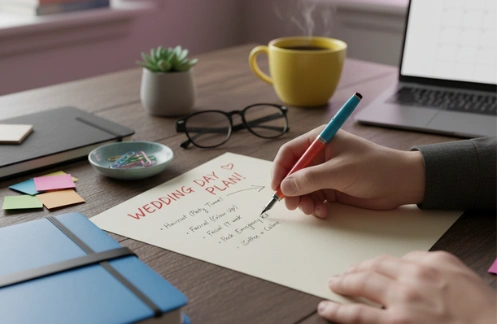
You’re probably feeling completely overwhelmed now, but the preparation process will be undoubtedly be more difficult than the actual day of the wedding. Relax, and just take it one step at a time. That way, you can look your best and be more than ready when the day comes.
Phase 1: Face
Making sure your skin is right on your big day is super important. Waking up to a zit or having to deal with oily skin all day can just add on to the stress.
The Skincare Audit: Your Canvas is King
Your skin is the foundation of everything. You don’t need a 10-step skincare routine, but you do need consistency.
- Cleanse & Moisturize (Daily): Create a skincare routine, if you don’t already have one. Find a gentle cleanser for your skin type (oily, dry, sensitive) and use it morning and night. Follow up with a lightweight, oil-free moisturizer. Target any problem areas like acne and discoloration. A clear face will look better in photos and boost your confidence.
- Exfoliate (1-2 Times a Week): This is the secret weapon for removing dead skin cells and preventing that dull, patchy look. A gentle scrub or a chemical exfoliant (like an AHA/BHA product) will give you a smooth canvas and more youthful, glowing skin.
– Pro Tip: Professional Facials: If you’re going for a professional facial (like a hydrating or deep-cleansing one), book your first one 3-6 months out to see how your skin reacts. Schedule the final one a full week before the wedding to allow any redness to disappear.
Facial Hair

Having facial hair doesn’t mean you have to shave it all off for a wedding. While it’s ideal to look clean-cut and formal, you’ll regret straying from your everyday look when you look back at pictures. If you typically rock a scruffier look though, you can definitely tidy things up a bit so your facial hair actually accentuates your face.
- The Beard/Shave: If you’re clean-shaven, get your last shave the morning of the wedding, using high-quality products to prevent razor burn. If you rock a beard, get it professionally shaped and trimmed 2-3 days before the wedding. Use a good beard brush with beard oil or balm daily in the final weeks to keep it conditioned, shiny, and less wiry.
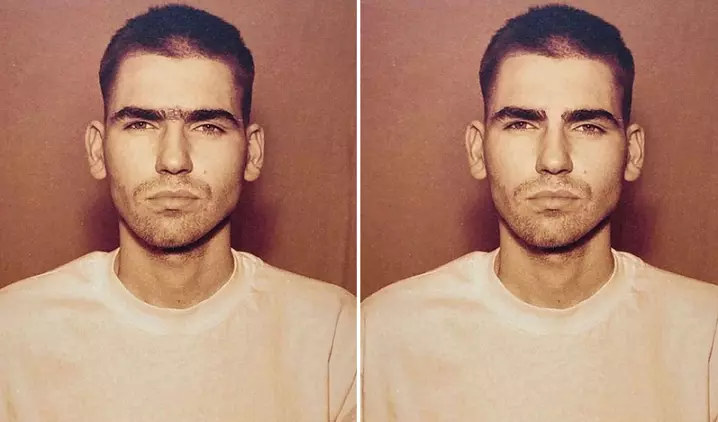
- Brow Grooming: Clean, shaped eyebrows instantly make your whole face look more polished and your eyes more defined. You can have them professionally shaped a few days prior. On the day, a clear brow gel or a tiny bit of pencil in a matching shade can fill in sparse spots and keep stray hairs in place. Check out our eyebrow shape guide if you’re wanting to experiment with new, more flattering eyebrow shapes.
– The Trial Run: If you’re going for a new style, do a test run at least a month out. Take a photo and see how it looks. You need to be 100% comfortable with your final look.
Phase 2: Groom Hairstyles for Your Wedding Day
Your wedding hair should be an elevated version of your normal style, not a completely different person. Comfort and confidence are paramount.Getting the right haircut is the last critical detail that pulls your entire wedding look together. Whether you’re wearing a classic black tux or a linen suit on the beach, the style you choose should be clean, polished, and timeless enough for photos that will last a lifetime.
The Modern Side Part with Taper
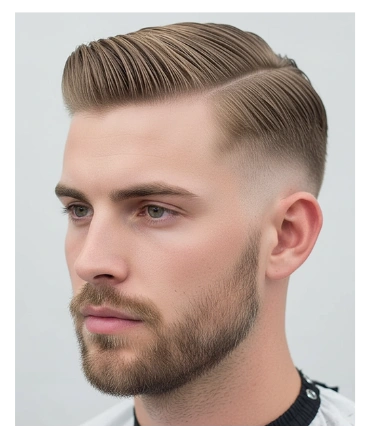
The Side Part is the definition of classic elegance, but adding a taper or subtle fade keeps it from looking dated.
- The Look: Hair is meticulously combed to one side with a defined, crisp part line. The top retains a medium length (3–5 inches) for natural movement and volume, while the sides are neatly graded, tapering from a longer length near the top down to a clean finish around the ears and neck. It’s polished and universally flattering.
- How to Get It: Ask your barber for a classic side part, cut with scissors on top, and a taper on the sides and back—not a sharp fade, but a gradual blend. To style, blow-dry the hair over the part, use a comb to refine the line, and finish with a medium-shine pomade for all-day hold without looking greasy.
The Textured Quiff
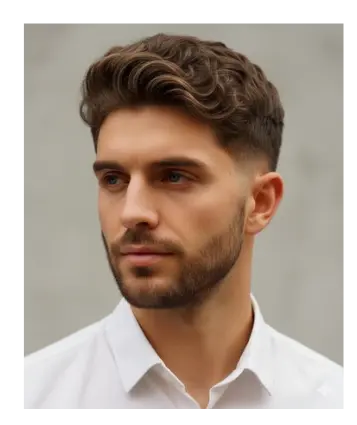
The Quiff provides height and volume without the rigid, high-shine look of a classic pompadour. It’s sophisticated but has a modern, effortless vibe.
- The Look: The front section of the hair is styled upward and slightly back, creating a relaxed wave or crest. The hair on top is visibly textured and matte, giving it dimension. The sides are kept short with a low or mid-fade for a high-contrast finish.
- How to Get It: Request a clipper cut on the sides (a #1 or #2 fade) and keep the top at 3–4 inches. Tell your barber to point-cut the top to create the messy, textured layers. Style with a sea salt spray when wet, blow-dry the front up and back, and finish with a matte clay or paste to hold the lift and texture.
The Clean Fade with Textured Top
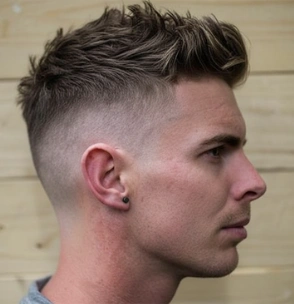
This is the most popular modern groom’s style, blending sharp precision with flexibility on top.
- The Look: A sharp, often skin-tight, fade on the sides that seamlessly blends up to a slightly longer, dishevelled, or combed-forward top. The contrast is clean and highlights the hair’s shape and definition.
- How to Get It: Ask for a low or mid-skin fade on the sides and back. The top should be cut to about 2 inches and texturized. To style, work a small amount of fiber pomade into the top while dry, pushing the hair forward, upward, or to the side depending on your preference. The key is visible, defined strands.
The Classic Slick Back
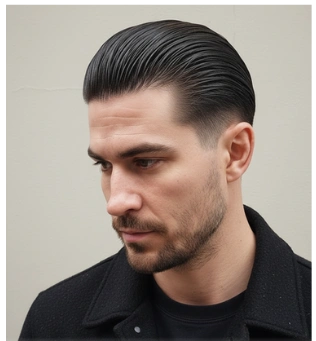
A bold, confident choice that channels old-school elegance, perfect for a black-tie affair.
- The Look: Hair is uniformly brushed straight back from the forehead with a high-shine finish. It’s a powerful, sleek, and highly formal style that requires well-maintained medium length hair (4-6 inches) on top.
- How to Get It: Ensure the top hair is long enough to reach the crown when pushed back. The sides can be a short, clean taper or a soft fade. Styling is crucial: Apply a generous amount of high-shine, oil-based pomade to damp hair, use a fine-toothed comb to pull everything back neatly, and then let it set.
Defined Natural Curls

For grooms with naturally curly or coily hair, the wedding day is about maximizing definition and shape.
- The Look: Curls are tight, well-defined, and frizz-free. The entire style is focused on a sharp, clean silhouette, often achieved with a precise hairline.
- How to Get It: The focus should be on a clean line-up or shape-up around the temples and neck. The main body of the hair should be shaped to remove unnecessary bulk. To style, use a curl cream or curl-enhancing gel on wet hair, then let it air-dry or use a diffuser on low heat to lock in the curls and volume while eliminating frizz.
The Mid-Length Flow

Ideal for grooms who already have longer hair and want a soft, romantic, or relaxed look.
- The Look: Hair falls around the ears or mid-neck, styled with layers that create natural volume and movement. It is often swept back off the face or slightly parted down the middle. This style works well for bohemian or outdoor weddings.
- How to Get It: Ask for long layers to be cut into the hair to encourage flow and avoid a heavy, helmet-like look. On the day, use a light cream or sea salt spray on damp hair, then use a hairdryer to push the hair back off the face. The result should look natural, almost windswept, but with a clean, trimmed neckline.
The Buzz Cut with Line-Up
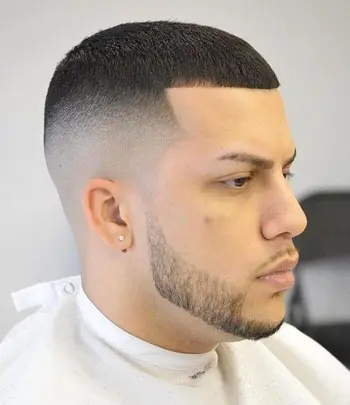
The ultimate low-maintenance, high-impact style. It’s minimalist, masculine, and screams confidence.
- The Look: The hair is cut to an ultra-short, uniform length (usually a #1 or #2 guard) across the entire head. The essential detail is the line-up—the hairline, temples, and back of the neck are shaved with razor precision to create stark, clean geometric borders.
- How to Get It: Ask your barber for a uniform buzz cut and, crucially, a razor-sharp line-up around the edges. This cut should be done 1-2 days before the wedding for maximum sharpness.
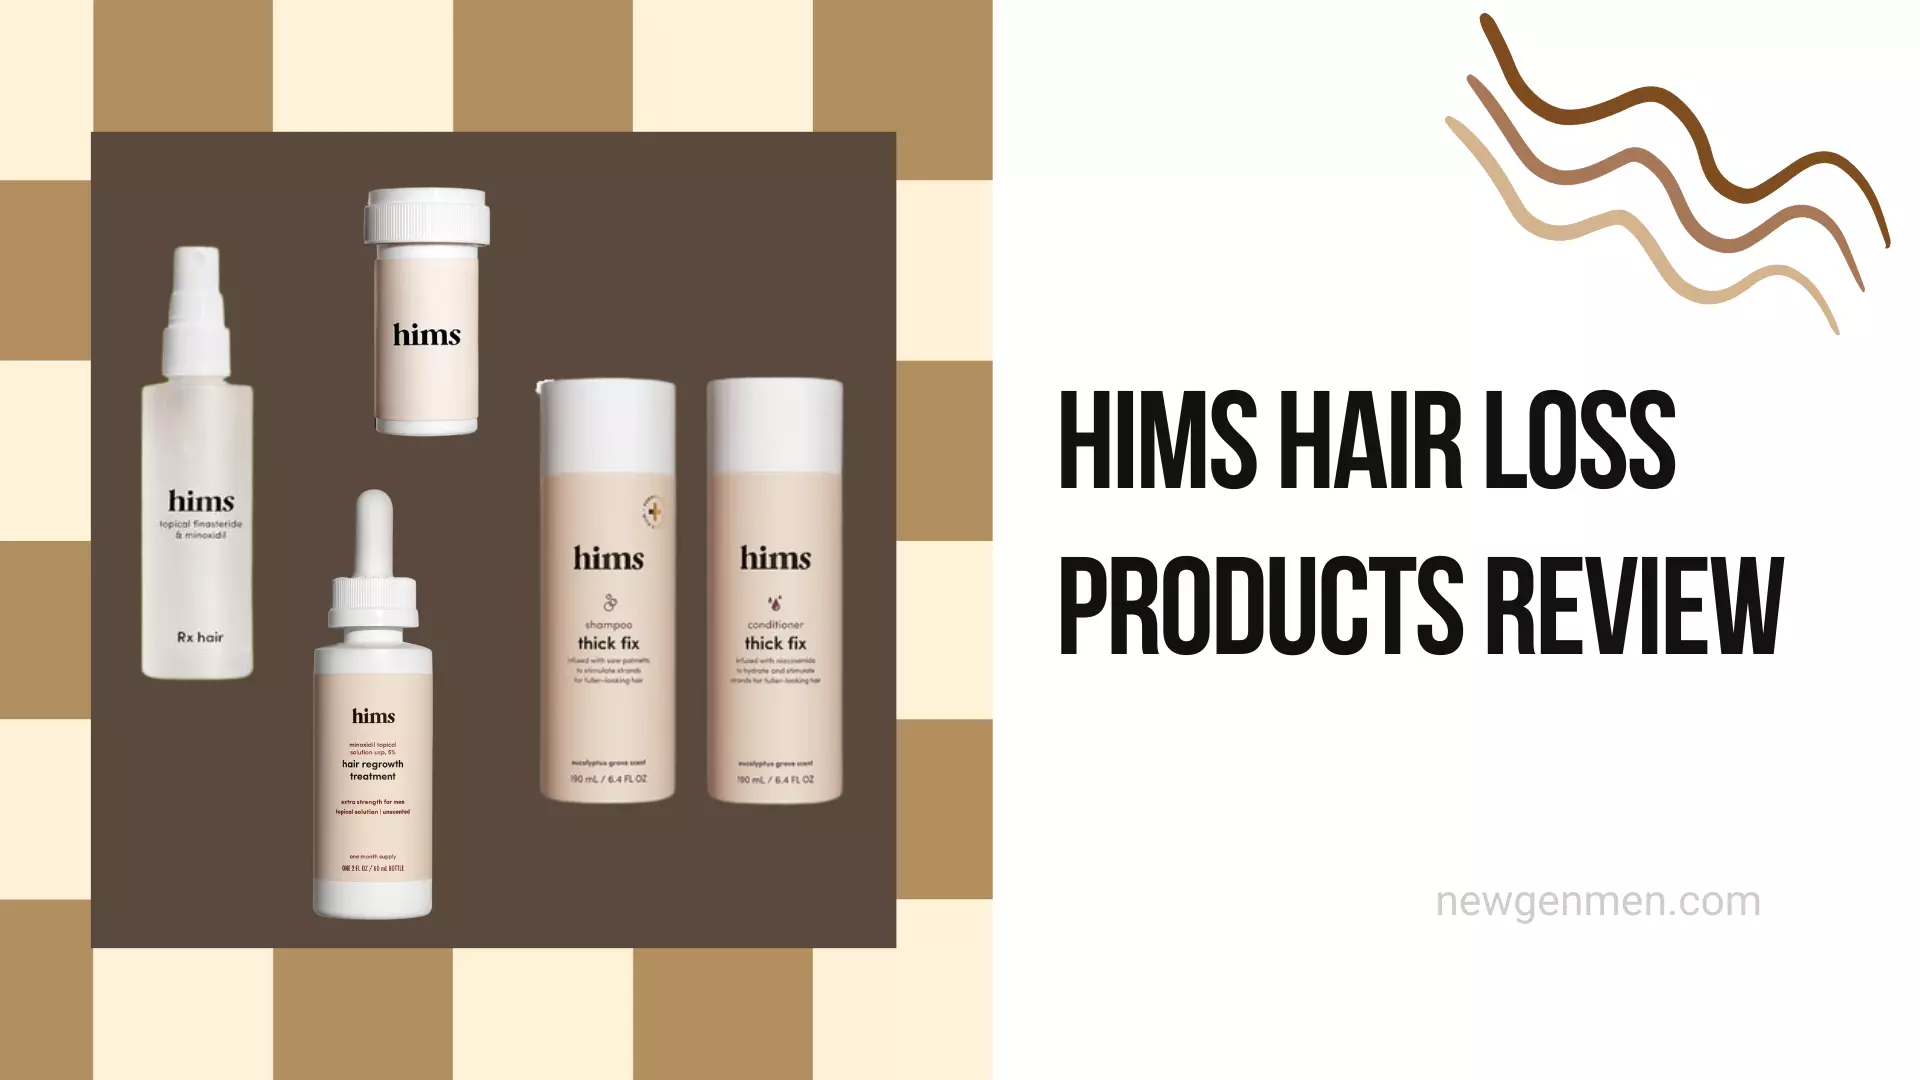
Product is Power
The wrong product can make your hair look greasy, stiff, or just wrong. Aim for natural texture and hold that can last all day.
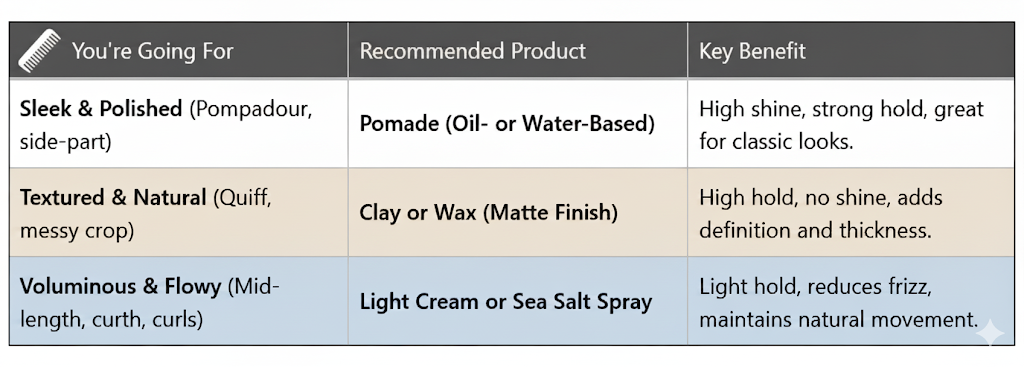
Important: Test your products weeks ahead of time to see how they last through a whole day, especially if you’ll be in heat or humidity.
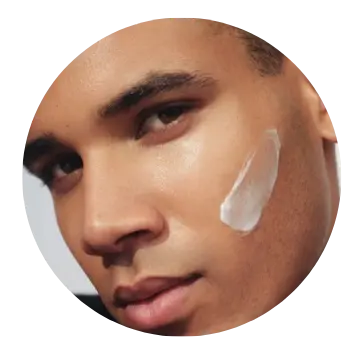
Phase 3: The Wedding Day Glow-Up (Groom Makeup)
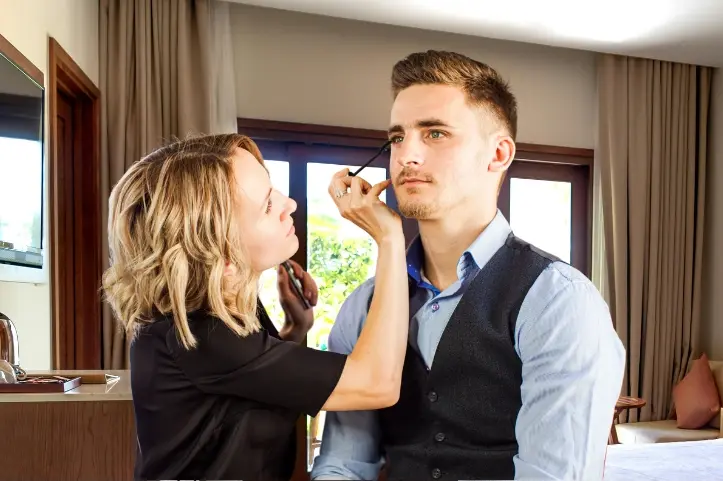
Let’s be clear: this isn’t about looking feminine or like you’re wearing a mask. Groom makeup is about subtle enhancement, controlling shine, and ensuring you look flawless under bright lights and high-definition cameras.
Even if it is noticeable, don’t worry, the bros will understand. It’ll be worth not looking back at pictures one day, and seeing an angry, red zit or an oil pit on your face.
Shine Control is the Goal
Wedding days are stressful, emotional, and often hot, a perfect storm for a shiny forehead.
- Prep and Prime: After cleansing and moisturizing, use a mattifying primer, especially on your T-zone (forehead, nose, and chin). This fills in pores and creates a smooth, oil-resistant base for anything that comes next.
- The Base (If Needed): You can use a lightweight, natural-finish foundation, a BB cream, or a tinted moisturizer that exactly matches your skin tone. The goal is to simply even out any redness or discoloration. Blend, blend, blend.
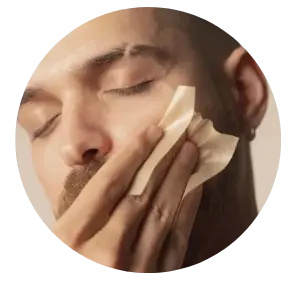
- The Lock: A light dusting of translucent setting powder is your best friend. Focus on the T-zone. This locks the base in place and, crucially, kills the shine so you don’t look sweaty in photos.
Cover-Up, Don’t Cake-Up

The goal here is spot-correction, not cakey, full coverage. It will be a long day and the last thing you need to worry about is pasty sweat streaks running down your face.
- Concealer is King: Got a late-night stress-induced dark circle? A pimple? Use a cream-based concealer that matches your skin tone. Dab it gently onto the area and softly blend the edges outward. Only apply it where it’s needed. You can go over it, and lightly over your whole face, with a light powder foundation that matches your skin tone, to help blend everything together.
- Contour/Bronzer (Optional): If you’re under strong photo lights, your face can look flat or fat in pictures. A tiny bit of matte bronzer, a shade or two darker than your skin, subtly applied under the cheekbones and along the jawline, can add natural dimension. Again: a light touch is key.
- Lip Hydration: Dry, cracked lips look awful in close-ups. Use an exfoliating scrub, even something as simple as honey and sugar rubbed on your lips, to gently remove dead skin. Get into the habit of applying lip balm (non-shiny) religiously, and make sure to drink enough water everyday.
Phase 4: Final Touches & The Emergency Kit
The night before and the morning of are all about relaxation and self-reflection. You should not even be planning anything on the final night. Everything is good to go, and you’re just mentally relaxing and making sure you get enough rest.
The Night Before: Chill Out
- Hydrate & Sleep: Drink plenty of water and get a full 8 hours. Nothing can fake the natural glow that comes from actual rest.
- Eat Healthy and Light: Don’t splurge just yet. You don’t want to wake up gassy, bloated or feeling sluggish.
- Iron the Suit: Get your suit, shirt, and tie laid out and pressed.
- Polish the Shoes: Don’t forget your footwear! Polished shoes are the mark of a truly dapper groom.
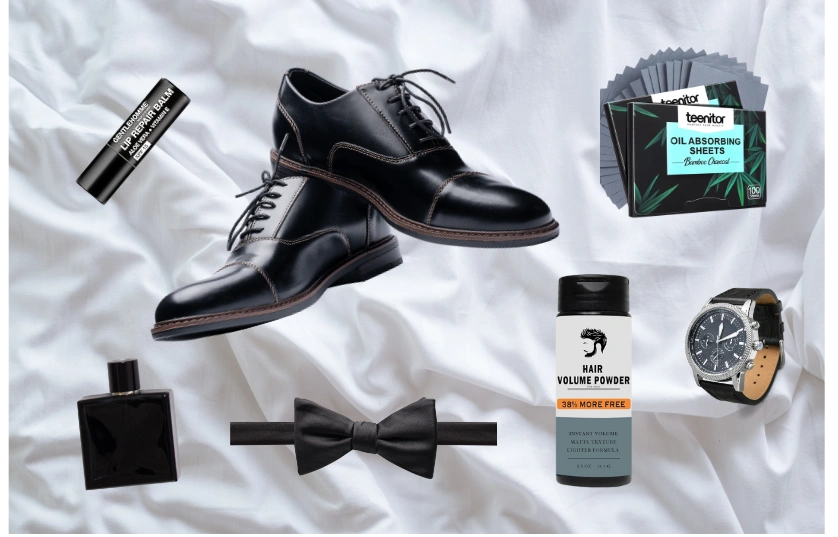
The Emergency Kit: Delegate
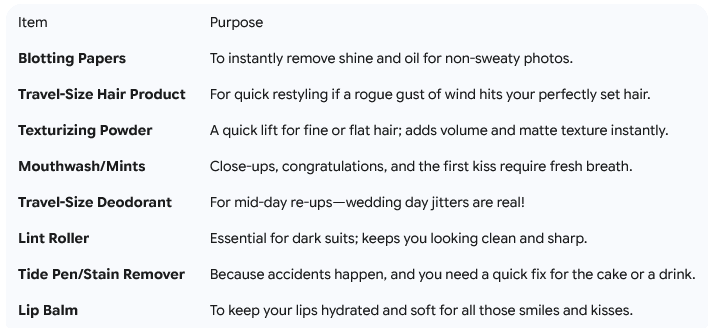
Prepare a small kit and give it to your best man or groomsman. This is your insurance policy.
Recommendations:
Natural Oil Blotting Sheets for Face with Bamboo Charcoal

Infused with 100% natural bamboo charcoal — the most powerful natural absorbent.

L3 Level 3 Styling Powder
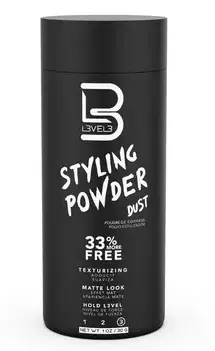
Absorbs oil and provides long lasting volume and texture.
Your Day, Your Look
Remember, your wedding day is about celebrating you and your partner. The grooming plan is simply a framework to ensure you feel confident, comfortable, and prepared for every photo and every moment. You’ve put in the work, now trust the process. Step up there, look your best, and enjoy every second.
Also Read:
- Looksmaxxing Tips and Trends For Men: The Art of Leveling Up Your Appearance
- The 10 Best Skin Tightening Creams for Men